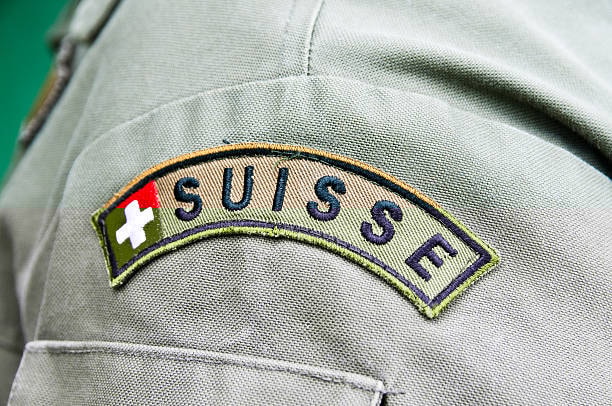
It was common for people to use embroidery on apparels and things they wear for customization. Cup placement preferred by customers, one of the most popular is left chest. If it is on a company logo, with a name monogram or a custom design, the size of embroidery has a significant influence on the final look and functionality of the garment. Read this ultimate guide to learn more about the left chest size, size factors, and how to measure to get the desired left chest embroidery.
Why Size Matters in Left Chest Embroidery
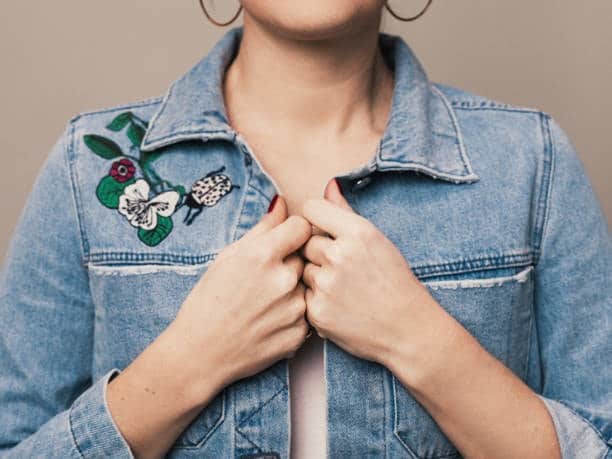
The left chest embroidery placement is also very noticeable, ideal for making memorable logo and name prints. If the design is very tall and big, it can take up much of the garment and if put very small, people may not notice it at all. Proper dimensioning avoids distortion of shapes and proportion and placement of design in the correct area, making the overall appearance of the garment appealing.

1. Branding and Visibility
Some of the common areas that companies use left chest embroidery for include branding. The size of the embroidery has a close relation with the readability and visibility of the logo. Optimal logo size allows for neat work statement which can be easily communicated and understood as per the intend message.
2. Practicality and Comfort
An ideal embroidery is however not only determining the correct size but also the correct size that will make a design comfortable to wear. Massive embroidery tends for example to be rigid on light fabrics or make the clothing item feel weighty. However, compact designs might not be as detailed and may not make the required impression, to the viewers.
Standard Sizes for Left Chest Embroidery

Preferably, the standard size for left chest embroidering dimension normally falls in range between three and four width size and two to three height size. These sizes are preferable most often used in garments’ production since they may overly load the material and are not very balanced.
1. Guidelines by Garment Type

- T-Shirts and Polo Shirts:
- Recommended size: 3.That is 5 inches wide by 2.5 inches high.
- These sizes enhance the natural shape of the region to a higher level.
- Jackets and Outerwear:
- Recommended size: midway measurements 4 inches in width and 3 inches in height.
- The last improvement is that the fabric itself makes it possible to print slightly larger patterns since the fabric is thicker than standard tissue paper.
- Children’s Clothing:
- Recommended size: 2.These are 5 inch wide by 1.5 inches high.
- They require certain changes for fitting smaller garments into the model.
2. Customization Options
Despite the foregoing being general guidelines ideas of embellishment are often customized depending on the client, the type cap size of suit, style, and the intricacy of the designs. Note that the dimensions should always be agreed on with a provider of embroidery services.
Factors Influencing Left Chest Embroidery Size
There are several different types of reasons to select a certain size for left chest embroidery. Knowing these variables can assist you to offer a more refined end product.
1. Design Complexity
When the designs are more detailed, then a larger size maximum width of embroidery is needed for clear perception. Sleight prints, subtitles, or intricate designs may sometimes not appear sufficiently distinguishable if made too small.
2. Fabric Type
Thickness and type of the fabric matter a lot. For example:
- The assumption is that thin materials such as the cotton or polyester should not be filled with large and dense patterns that may lead to pucker.
- Fabrics that are thicker for example fleece or denim can take in larger designs of embroidery.
3. Placement Consistency
Embroidering multiple garments and hats for teams or events requires good placement and size so that all the items aligned will match. This way there is a professional and coordinated appearance.
4. Purpose and Use
Size of the embroidery depends on the intended use of the garment, that is, the size of the emblem. Brand logos may require following branding standards, but personal logos typically aren’t as restrictive.
Best Practices for Left Chest Embroidery
To achieve optimal results, follow these best practices:
1. Start with a Template
From a more general perspective, using a standard template for left chest embroidery guarantees that the subsequent sequences will be repeated in garments’ standard regions with appropriate size. This is especially useful when ordering in large quantities needed to be supplied at once.
2. Test Stitch Samples
As usual, one should always check whether the stitch comes out well on the fabric similar to the material you intend to embroider on. This lets you get an idea on the size, sharpness or clarity, and overall looks of what you’re seeking.
3. Mind the Margins
When using pockets, this design leave enough space around them instead of placing them too close to the seam or buttons. This makes the embroidery to comfortably lie flat on the chest area when the wearers are moving or even at rest.
4. Use Quality Backing and Thread
Superb backing is used to give the fabric of the product more support while superior threads make the colors more permanent and clear. Both give a professional look in the end.
Common Mistakes to Avoid

Avoiding common pitfalls can save time, money, and frustration:
- Oversizing the Design: Large embroidery spoils the form and the look of a shirt and doesn’t look very professional.
- Using Inappropriate Fonts: Letters in small dimensions and complicated motifs might not be visible and readable and do not embroider well.
- Ignoring Fabric Limitations: Some of fabrics are not good for the large embroidery or the embroidery with the large detailed designs.
- Skipping Proofing Steps: Perform design and size review before proceeding in the production process of the electronic product, location.
Tools and Technology for Left Chest Embroidery
In today’s developed world sharp tools and technology are used to obtain very fine stitched patterns. Here are some key innovations:
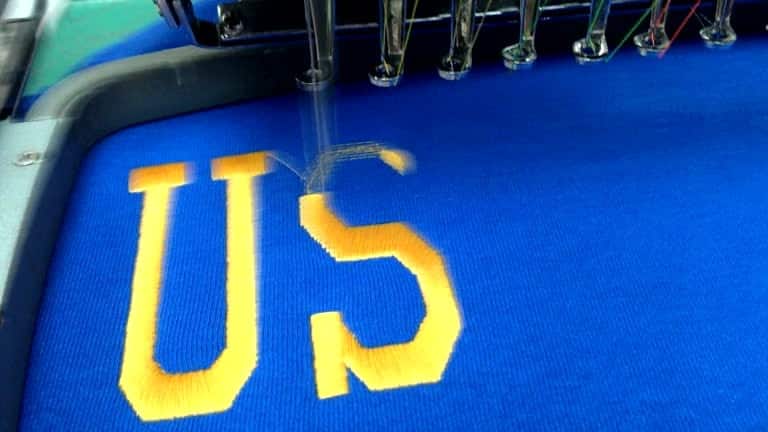
1. Digitizing Software
Curtain designs are transferred into stitch pattern formats by following the process known as digitizing. Some of the tools enable a gradual scaling or the making of adjustments.
2. Automatic Placement Machines
When the garments are embroidered, the automated embroidery machines are programmed to have an electronic template or mechanical sensors to guarantee that the embroidery will be placed in the correct order and with due consideration given to mass production.
3. Laser Alignment
Laser alignment tools help in placement accuracy and mostly preferred in complicated designs that require small sizes in the center of the output.
Conclusion
Left chest embroidery is one of the most popular and enduring techniques to decorate clothes and other pieces of clothing. Be it corporate branding to the individual branding, getting this aspect right is very important and very critical in producing neatly professional and neat works most common placement. The widths are ideally between 3 to 4 inches and the height ideally will be between 2 to 3 inches although this may be occasion dependent or vary depending on the type of fabric used, the design complexity or the purpose of the clothes the garment is destined for.
By adhering to some guidelines for example use of templates, samples, and concentration the embroiderers are capable of doing a work that complements the general outlook of creating the garments. Such things help make the process more efficient and precise and, when coupled with use of computer digitizing software and laser alignment, make adaptation of the moulding process much easier.
Don’t make mistakes of over sleeving or not considering fabric constraints when designing a product and you will be able to give the left chest embroidery area the best quality and comfortable feel common placement.